
Automating Unity Builds for Meta Quest


Developing for VR on the Meta Quest involves a lot of iteration. Since many device capabilities only work on the headset, you’ll find yourself making frequent builds to sideload APKs and share them with testers. Distributing those builds manually can consume much of your time. As your app and team grow, you start wishing this Unity build and deployment process was automated.
In this guide, we’ll set up a completely automated pipeline that takes your code from GitHub, builds it in the cloud, and delivers it directly to a release channel on the Meta Quest Store.
This guide assumes you are already familiar with setting up basic Unity builds with GitHub Actions. If you're just starting out, check out my guide on Automating Unity Builds with GitHub Actions first.Note
By the end of this tutorial, you will have a GitHub Actions workflow for Meta Quest that:
- Triggers whenever you push to your
mainbranch. - Builds your Unity project for Android (Meta Quest).
- Uploads the resulting APK directly to a specific Release Channel (e.g., Alpha) on the Meta Quest Store.
Table of Contents
- Prerequisites
- Setting up the Meta Developer Portal
- Configure GitHub Secrets for Meta
- Configure GitHub Secrets for Keystores and Signing
- Update Your Build Workflow
- Troubleshooting Uploads and Validation Errors
- Best Practices for Meta Quest CI/CD
- Installing the Build on Your Headset
Prerequisites
Before automating Meta Quest builds, make sure you have:
- A Unity project configured for Android (Quest target) with a valid package name (e.g.,
com.company.app). - An active Meta Developer account and an app created in the Meta Developer Dashboard.
- A Unity license that can run in CI, plus GitHub Actions secrets for credentials.
- A production keystore created in Unity (you must use the same keystore for all Quest Store uploads).
If you’re not already building Android in Unity, verify the Android SDK/NDK/Java tools are installed via Unity Hub and that your project builds locally first.
Setting up the Meta Developer Portal
Before we touch any YAML configuration, we need to prepare our application on the Meta Developer Dashboard.
Create Your App
If you haven’t created an app yet:
- Log in to the Developer Dashboard.
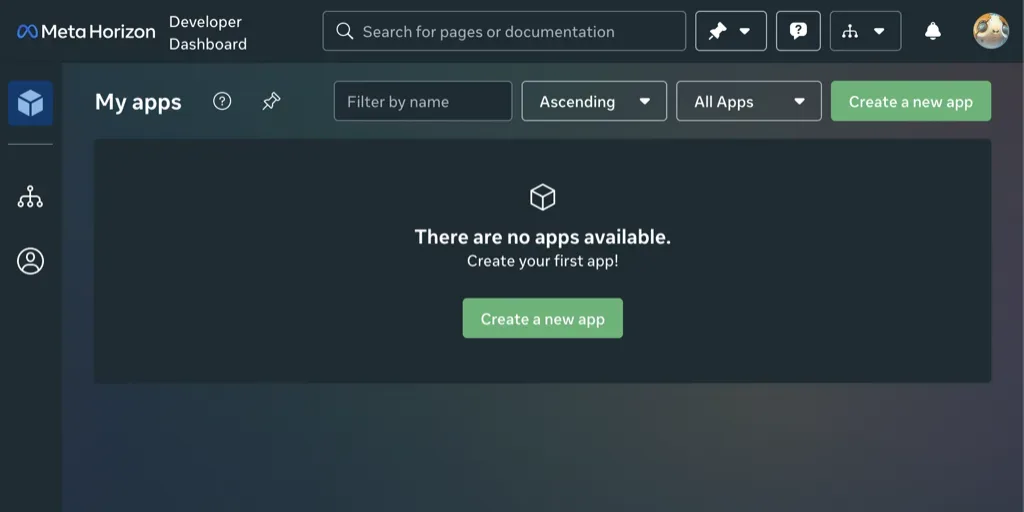
- Click Create New App.
- Give it a name and click Create.
Get Your Credentials
To allow GitHub Actions to upload builds on your behalf, you need two pieces of information: the App ID and the App Secret.
- Navigate to the Development > API tab in your app’s dashboard.
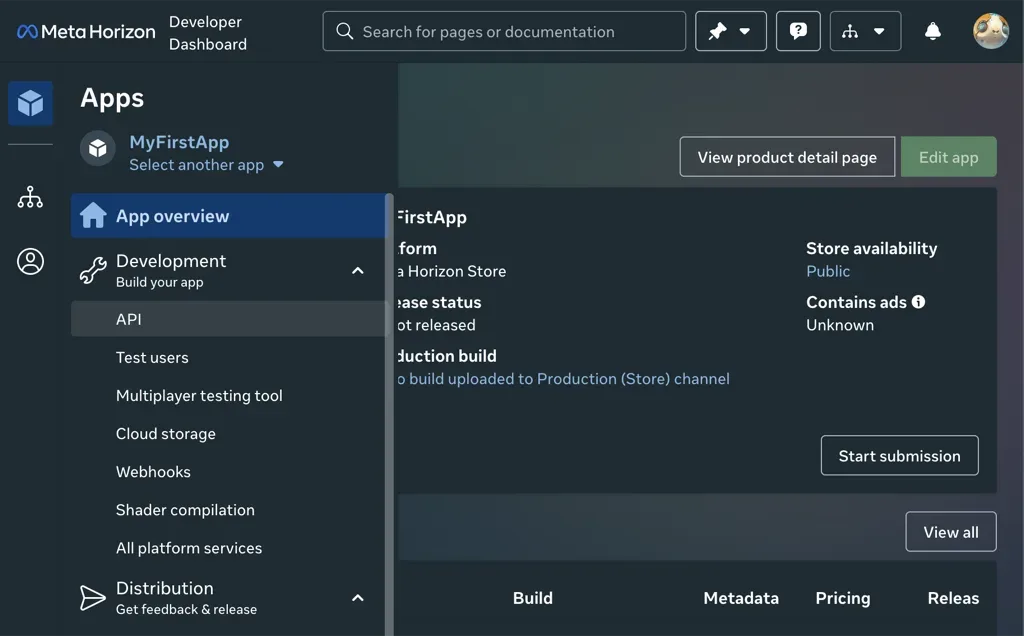
- Copy the App ID. You’ll need this for your workflow file.
- Copy the App Secret. Do not commit this to your repository! We will save this as a secret in GitHub.
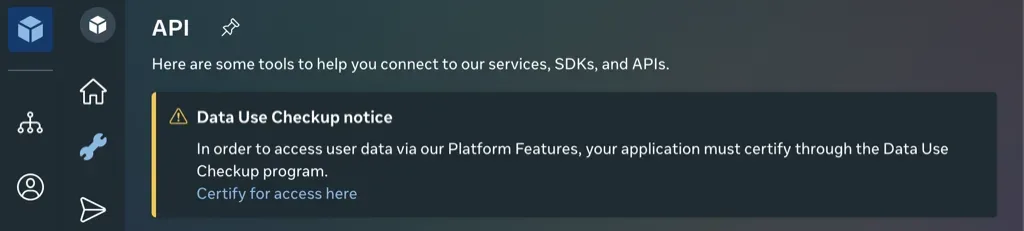
On some accounts, you may need to verify your account or complete the Data Use Checkup before you can access full API functionality. If your upload fails later with permission errors, double-check that your developer account status is in good standing.Tip
Create a Release Channel
Release Channels let you distribute different versions of your app to different users. For example, you might have a “Live” channel for the public and an “Alpha” channel for internal testing.
- Go to Distribution > Release Channels.
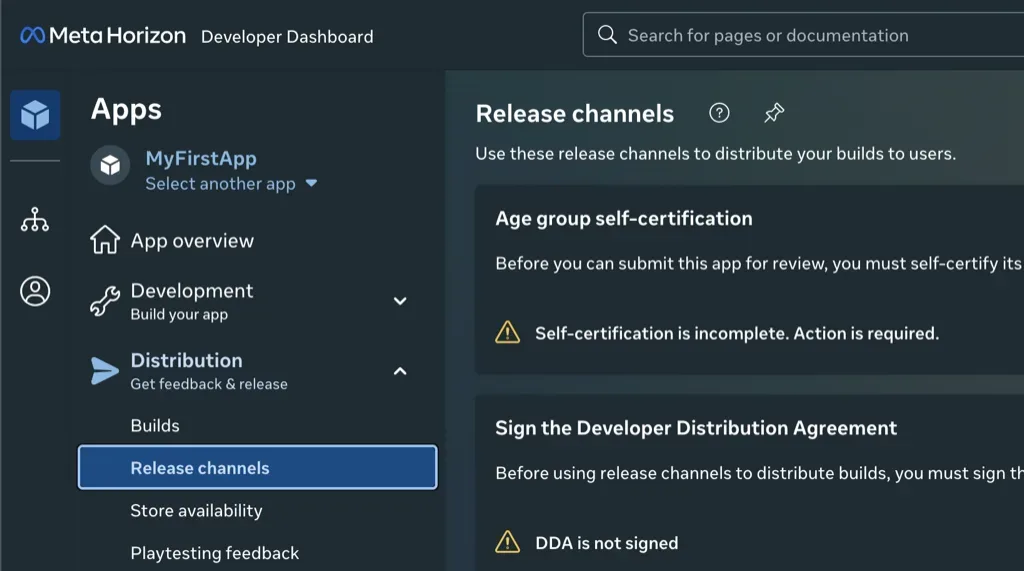
- You likely already have
LIVE,ALPHA,BETA, andRC. - You can use one of these (e.g.,
ALPHA) or create a new one specifically for automated builds, likeNIGHTLYorACTIONS. - Note the exact name of the channel you want to target.
Configure GitHub Secrets for Meta
We never want to hardcode our App Secret into our workflow files where anyone could see them. Instead, we use GitHub Secrets.
- Navigate to your GitHub repository.
- Click on Settings > Secrets and variables > Actions.
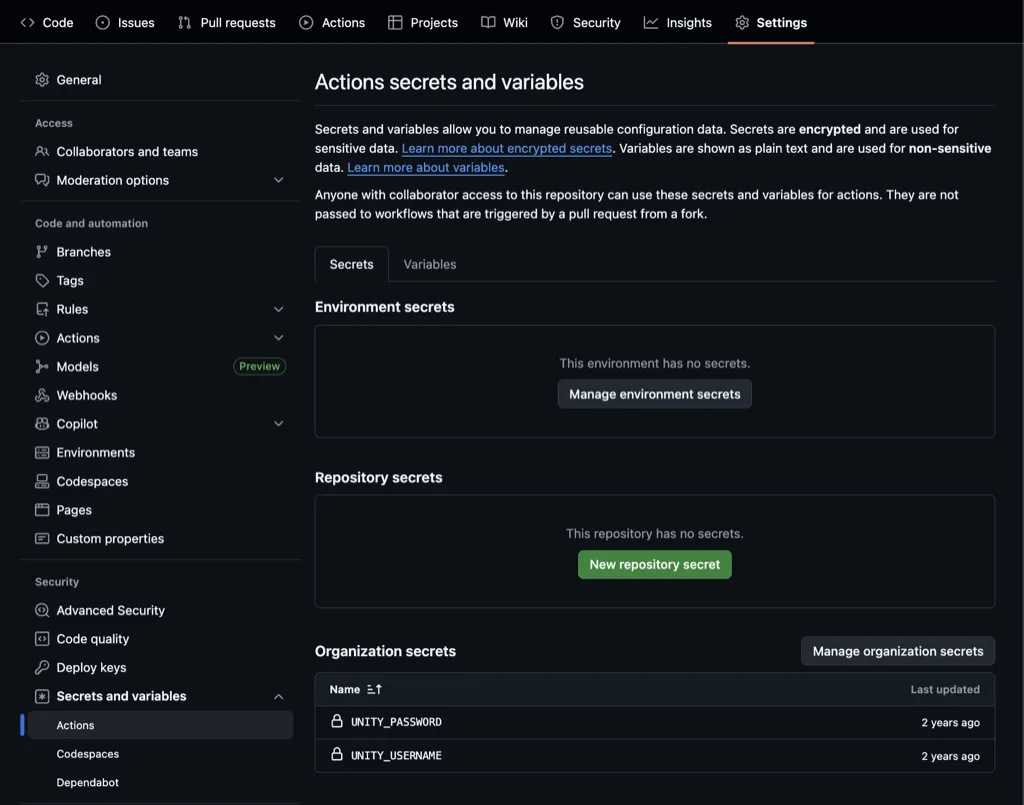
- Click New repository secret.
- Create a secret named
META_APP_SECRETand paste the value you copied from the Meta Developer Dashboard. - (Optional) You can also store your App ID as
META_APP_ID, though it is generally considered public information.
Configure GitHub Secrets for Keystores and Signing
One critical detail for Android builds is code signing. The Meta Quest Store requires your APKs to be signed with a production keystore, even for the Alpha channel. If you try to upload a development build signed with a default debug keystore, the action will successfully build, but the Meta server will reject the upload during validation.
What is a Keystore?
A keystore is a binary file that acts as a digital certificate for your app. It proves that the update comes from the same developer as the original app. If you lose your keystore, you lose the ability to update your app on the store—forever. So keep it safe!
Creating a Keystore
- Open your Unity project.
- Go to Project Settings > Player > Publishing Settings.
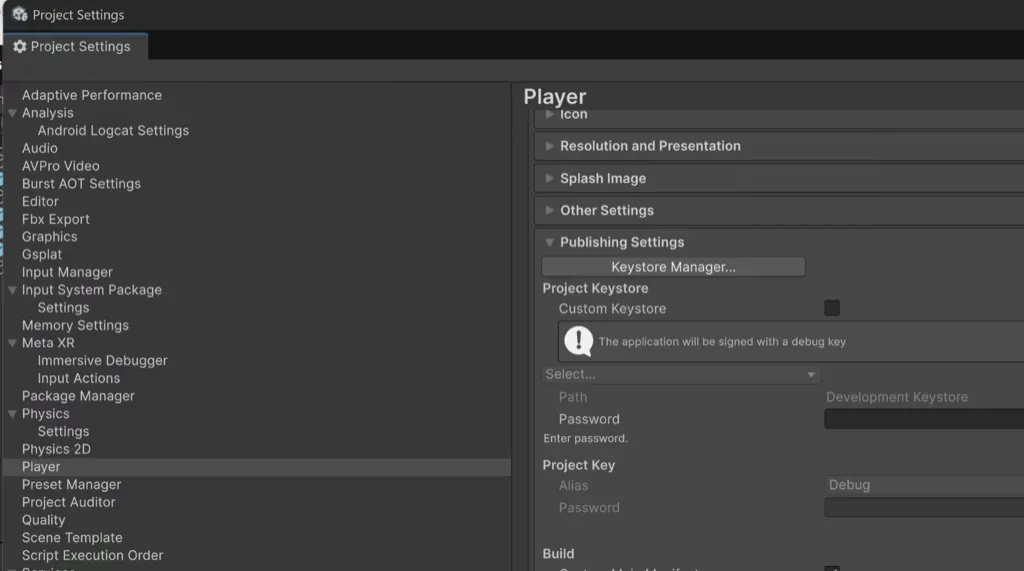
- Under Keystore Manager, create a new keystore.
- Choose a location inside your project folder.
- Set a Keystore Password, create a new Key Alias, and set a Key Password.
- Go to your GitHub repository Settings > Secrets and variables > Actions.
- Create two new secrets for your passwords:
ANDROID_KEYSTORE_PASSandANDROID_KEYALIAS_PASS.
The Buildalon build script we are using is designed to pick up these secrets from the command line arguments and apply them to the keystore found in your project settings.
Keystore Security
For better security, you can encode your keystore in base64 and store it as a GitHub Secret instead of committing the file.
- Encode the keystore in base64.
On macOS/Linux:
openssl base64 -in user.keystore -out user.keystore.base64.txtOn Windows (PowerShell):
[Convert]::ToBase64String([IO.File]::ReadAllBytes("user.keystore")) | Set-Content user.keystore.base64.txt- Store: Add it as a secret named
ANDROID_KEYSTORE_BASE64. - Decode: Add a step in your workflow (below) to decode it back to a file using
openssl base64 -d - Build: Pass
-keystorePath user.keystorein yourunity-actionbuild arguments.
Update Your Build Workflow
Now, let’s look at the workflow file. We’ll build upon the standard Buildalon Android workflow but add a crucial final step: the upload to a Meta Quest Release Channel.
We’ll be using the following actions:
- buildalon/setup-ovr-platform-util - Installs OVR Platform Tool.
- buildalon/upload-meta-quest-build - Invokes OVR Platform Tool to upload your build.
Create or update your .github/workflows/quest-build.yml file with the following configuration:
name: Deploy to Quest

on:
  push:
    branches:
      - main

jobs:
  build-and-deploy:
    name: Build & Deploy to Quest
    runs-on: buildalon-windows

    steps:
      # Checkout the repository
      - uses: actions/checkout@v6
        with:
          lfs: true

      # Setup Unity
      - uses: buildalon/unity-setup@v2
        with:
          build-targets: Android

      # Activate Unity License
      - uses: buildalon/activate-unity-license@v2
        with:
          license: 'Personal'
          username: ${{ secrets.UNITY_EMAIL }}
          password: ${{ secrets.UNITY_PASSWORD }}

      # Temporarily add the Buildalon command line package to your Unity project
      - name: Add Build Pipeline Package
        working-directory: ${{ env.UNITY_PROJECT_PATH }}
        run: |
          npm install -g openupm-cli
          openupm add com.virtualmaker.buildalon

      # Optional: Decode base64 keystore from GitHub Secrets
      # - name: Decode Keystore
      #   run: |
      #     echo "${{ secrets.ANDROID_KEYSTORE_BASE64 }}" | openssl base64 -d -out ${{ env.UNITY_PROJECT_PATH }}/user.keystore

      # Build the Project
      - uses: buildalon/unity-action@v3
        name: Build Android APK
        with:
          build-target: Android
          # Optional: add a previous step to decode a base64 keystore, and add: -keystorePath ${{ env.UNITY_PROJECT_PATH }}/user.keystore
          args: >-
            -quit -batchmode
            -executeMethod Buildalon.Editor.BuildPipeline.UnityPlayerBuildTools.StartCommandLineBuild
            -keyaliasPass "${{ secrets.ANDROID_KEYALIAS_PASS }}"
            -keystorePass "${{ secrets.ANDROID_KEYSTORE_PASS }}"
          log-name: Quest-Build

      # Setup OVR Platform Util
      - uses: buildalon/setup-ovr-platform-util@v1

      # Upload to Meta Quest Store
      - uses: buildalon/upload-meta-quest-build@v1
        name: Upload to Meta Quest
        with:
          # Your App ID (can be hardcoded or a secret)
          appId: '123456789012345'

          # Your App Secret
          appSecret: ${{ secrets.META_APP_SECRET }}

          # The path to your built APK.
          buildDir: ${{ env.UNITY_PROJECT_PATH }}/Builds/Android

          # The channel to upload to (ALPHA, BETA, LIVE, etc.)
          releaseChannel: 'ALPHA'

          # Optional, uploads the build even if there are validation errors.
          force: true
Key Changes:
- Set the build platform to Android.
- Pass the keystore credentials to the build step.
- Install the OVR Platform Tools
- Upload the built APK.
The magic happens in the buildalon/upload-meta-quest-build step. This action wraps the Oculus Platform Command Line Utility, handling the authentication and upload process for you.
appId: Identifies which application specifically you are updating.appSecret: Authenticates the upload request.buildDir: Tells the uploader where to find your build. Note thatStartCommandLineBuildby default outputs builds to theBuilds/{Platform}folder.releaseChannel: Ensures the build lands in the right place so your testers get the update without affecting live users.
Troubleshooting Uploads and Validation Errors
If your build uploads but fails validation on Meta’s side, check these common issues:
- Keystore mismatch: The APK must be signed with the same keystore used for the first upload. A different keystore will be rejected.
- Package name mismatch: The Unity package name must match the App ID configuration in the Meta Developer Dashboard.
- Version code not incremented: Meta requires the
versionCode(Android bundle version) to increase on every upload. - Android target SDK mismatch: Ensure your Unity project targets a supported Android API level for Quest.
- Missing 64-bit support: Meta requires 64-bit builds. Verify your Android build settings include ARM64.
- Insufficient permissions: Some accounts require completing the Data Use Checkup or verifying business details before uploads succeed.
If you get a vague error from OVR Platform Util, re-run the workflow with force: true disabled to see the full validation output.
Best Practices for Meta Quest CI/CD
- Use build numbers: Pass
-versionNameand-buildNumberso every CI build is unique. - Cache Unity builds: Use Buildalon runners or Unity caching to reduce build times.
- Upload artifacts: Archive the APK so you can sideload it without re-running CI.
- Separate channels: Use
ALPHAorRCfor CI builds and reserveLIVEfor manual releases.
Installing the Build on Your Headset
Once your build succeeds, it will be uploaded to the ALPHA channel.
- Invite Users: In the Meta Developer Dashboard, go to Distribution > Users. Add yourself and your teammates to the ALPHA channel using their Meta account emails.
- Accept the Invite: Each person will receive an email invitation to test the app. They must accept this invite.
- Find the App:
- Put on your Quest headset.
- Navigate to your App Library.
- Look for the app in the All or Not Installed category. It may also appear in the My Preview Apps section of the Store.
- Install the application.
- Confirm the Channel:
- Navigate to the app details in your Library or on the Store page.
- Click the version number to verify or switch the release channel to “ALPHA” (or your chosen channel).
Once installed, future updates from your GitHub Actions pipeline will appear as regular app updates on the headset!
Mission complete!
About Buildalon
Buildalon provides verified GitHub Actions and dedicated build infrastructure to streamline Unity development. Register for Buildalon to get support with your Unity build automation needs.
Further Reading
- How to Stream Unity Logs from Your Game
- How to Download and View Unity Logs from Your Game
- Automating Unity Builds with GitHub Actions
Subscribe to our Newsletter
Get the latest news and updates from Virtual Maker delivered straight to your inbox.
© 2026 Virtual Maker Corporation